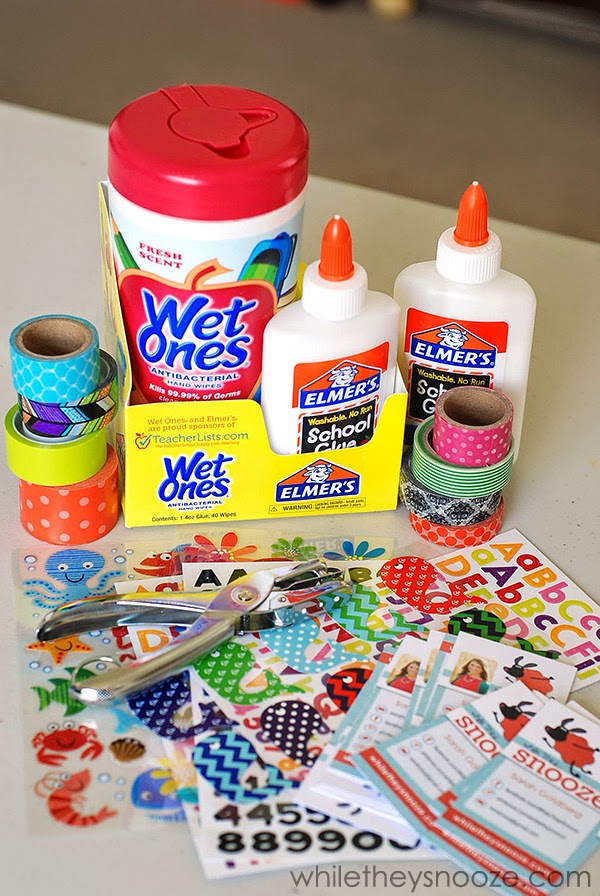
This shop is part of a social shopper marketing insight campaign with Pollinate Media Group® Elmer’s and Wet Ones, but all my opinions are my own. #pmedia #CraftandCleanUp http://my-disclosur.es/OBsstV
August is so itching to be flipped over on my calendar. If it weren't for the insta-sweat, hair-frizzing, deodorant-reapllying humidity here, I might even forget summer is almost over. While the pit stains will tell you there's no end to summer in sight, it's totally true for the kiddos. Back to school is coming people. It's coming.
Just this week I stocked up on new uniforms (can I get an amen for free shipping and online sales?), made my first lap through the school supply isle at Target, and wrote "Meet the Teacher Night" on the calendar. The kids are asking about their new teachers and if 1st graders have to wear a belt. (I have no idea... do 1st graders wear belts??) While we wait for an answer on the great belt issue, I thought I'd put the kiddos to work making something useful for the upcoming year. Name tags.
What's the big deal, right? Why do you need name tags? Because if my kids have brought it to school, it's been lost at least once. Lost books, lost bags, lost shoes, lost lunch boxes. You name it, I've dug through the scummy lost-and-found box to retrieve it. So I figured a good way to keep their summer brains active, recycle some old business cards, and have a hearty stash of name tags to attach to school-bound items, was to make some.
Supplies:
- Old business cards or scrap card stock
- Elmer's Glue (bonus: you can get a Elmer's Glue/Wet Ones combo pack in the Back to School section at select Target stores while they last... someone knows how 1st graders and glue work)
- Stickers
- Decorative tape
- Laminating sheets
- Hole punch
- String or rubber bands
Step 1:
Take all those outdated business cards and glue them right sides together. Lucky for me, my old cards were one-sided so that gave us a nice white card to work from. If your's are printed on both sides, just glue some scrap paper over the cards. It will cover up the old business info and provide rigidity.
Just glue right over Mama's face hun... it's all good.
Stick those suckers together. We did 3 or 4 and then moved on to decorating.
Step 2:
Decorate. The kids cut and glued decorative papers, added stickers, decorative tapes, and of course added their names or initials. I believe the below face is the universal "I'm cutting something out" face.
Easiest way to get the cards glued together evenly is to get in there with your fingers.
And since the glue came with Wet Ones Wipes, ... well two birds one stone, right?
Step 3:
Hole punch. Do this now before you laminate because it's really hard to hole punch through all of the card layers plus lamination. Trust me.
Step 4:
Laminate. I used self adhesive laminating sheets in the office supply isle at Target. If you have a fancy pants real laminator, you can always use that. After they were laminated, I repunched my holes through the lamination. It was way easier to do it this way than to try and punch through like 5 layers at once.
Step 5:
Add a string or rubber band.


No comments :
Post a Comment